How to Generate Realistic AI Videos: A Guide With Examples
How To, Insights | Published on
12 min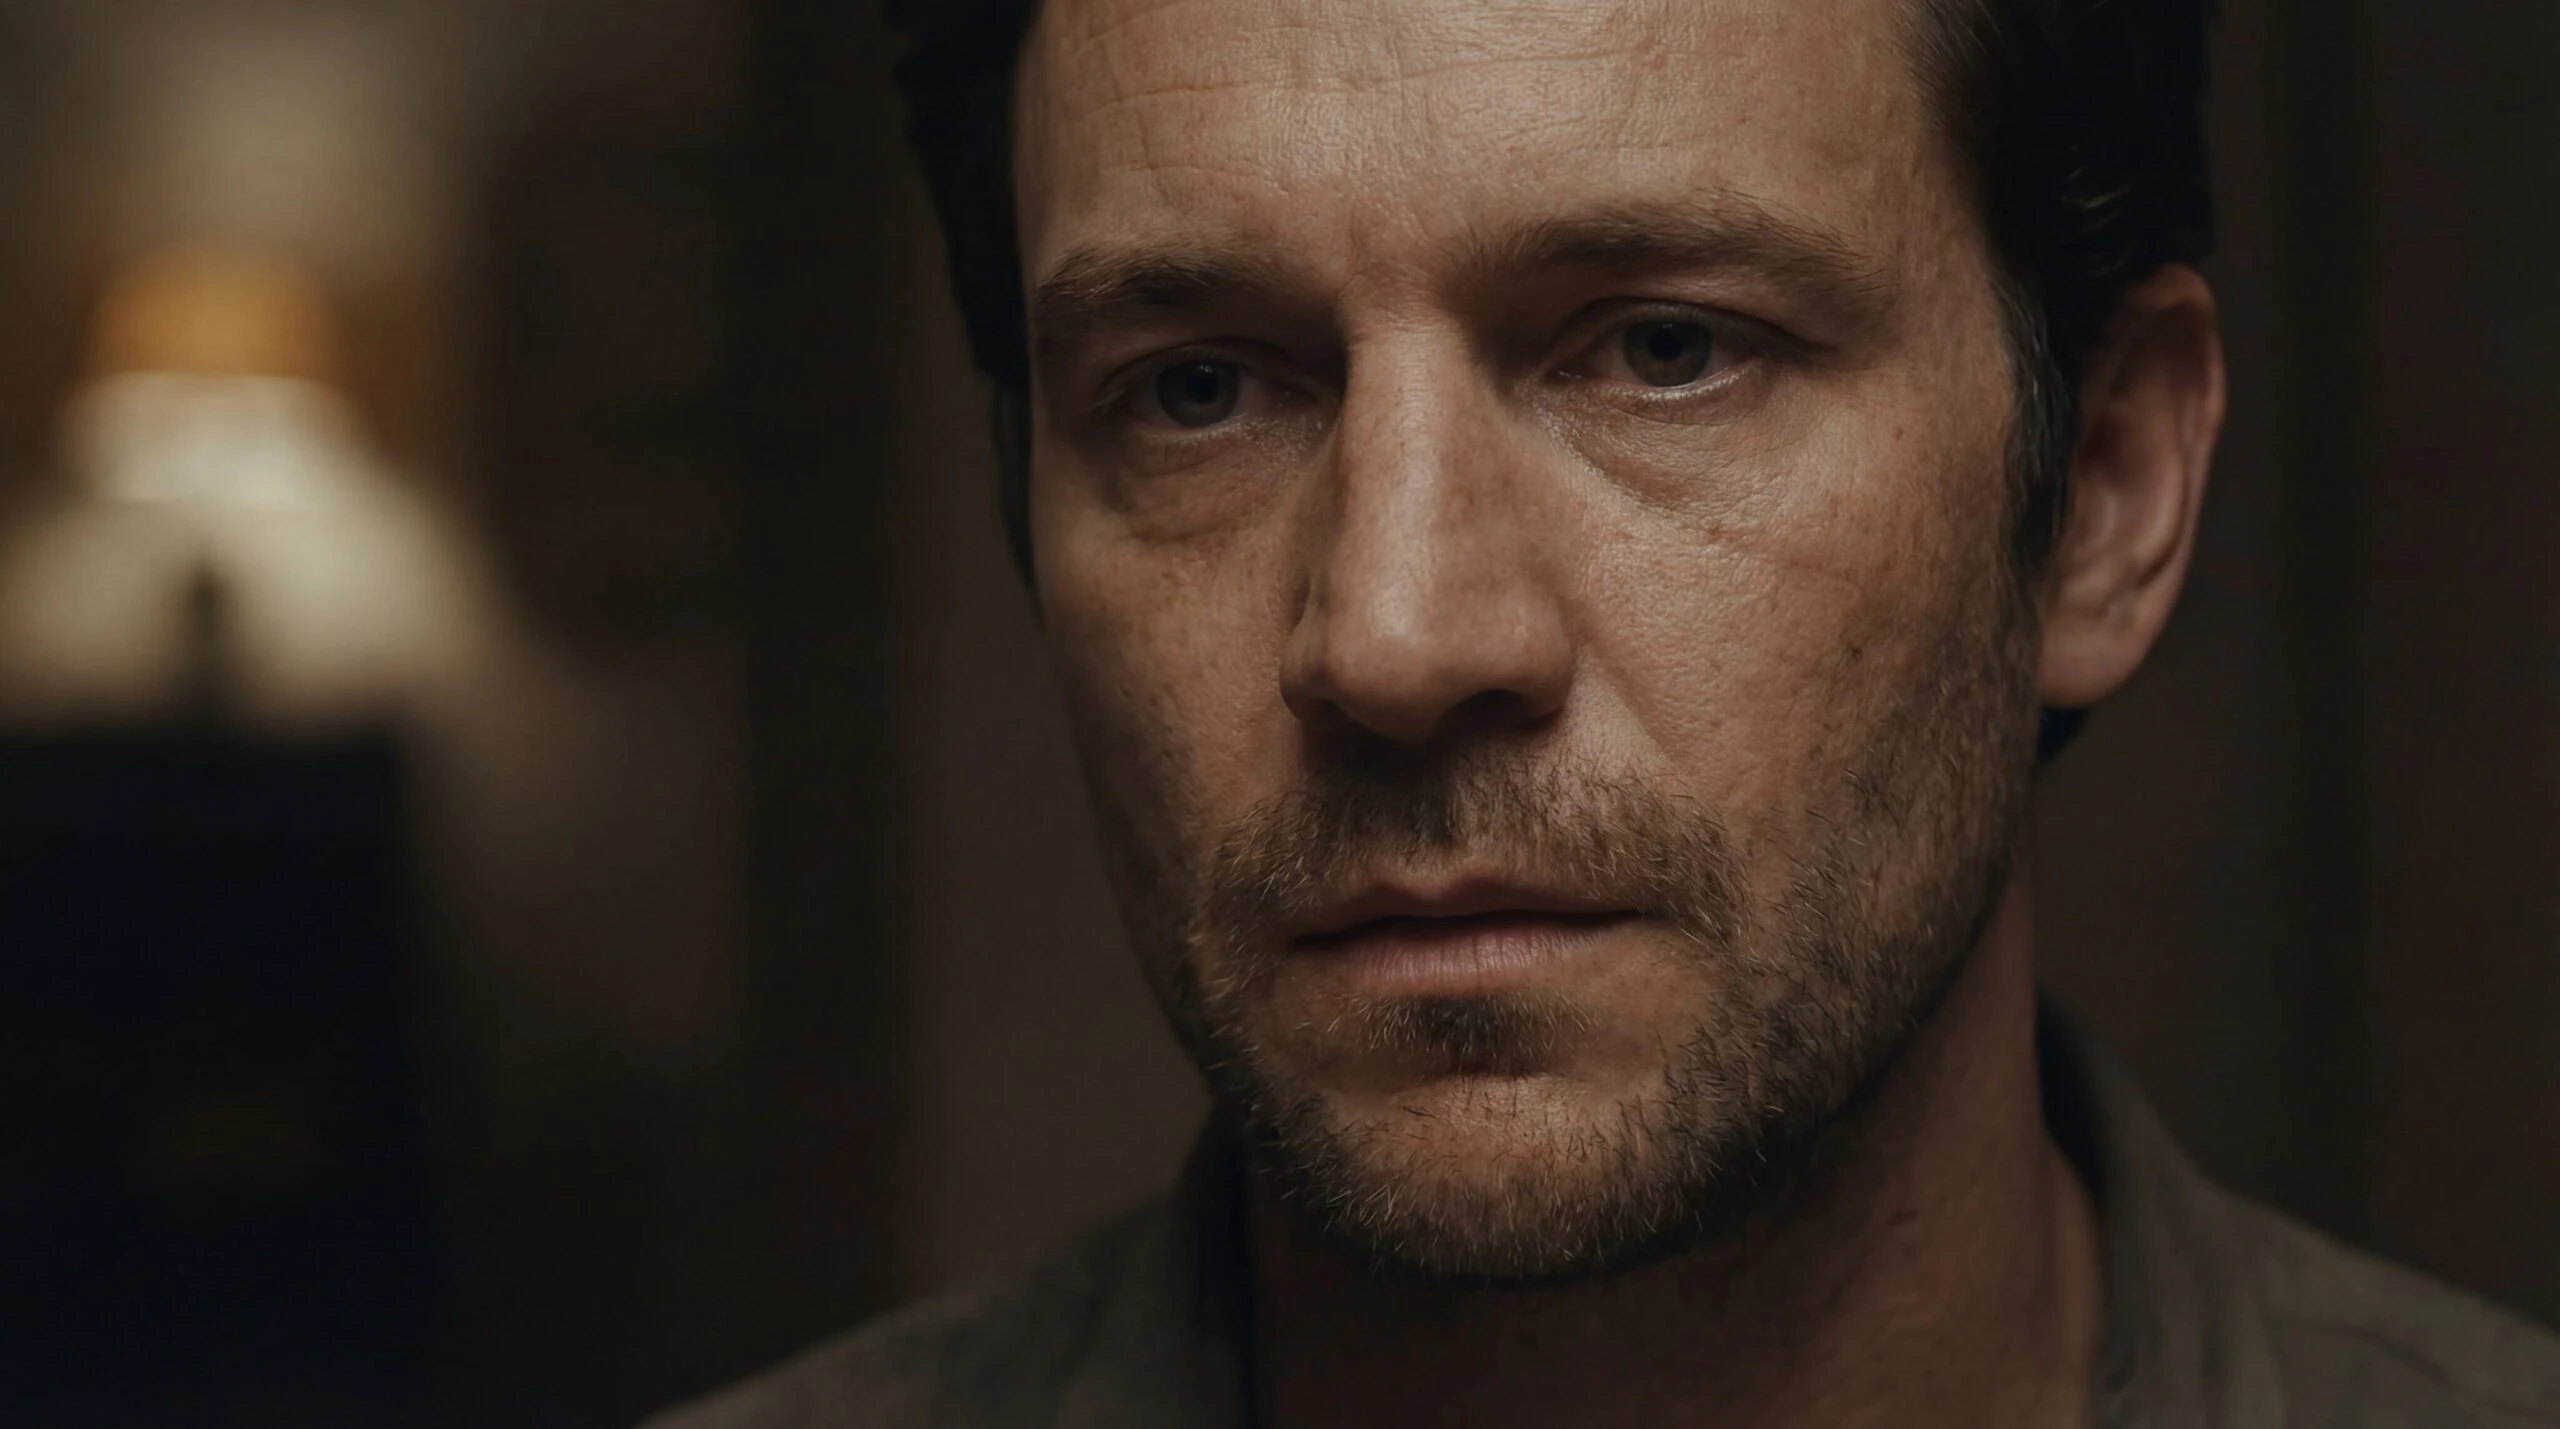
In the early stages of AI video generation, most videos suffered from morphing geometries, flickering textures, or a fundamental lack of physical logic. While these dream-like results were fascinating to experiment with, they were often difficult to use in professional projects that required a high degree of visual stability and realism.
Today, these challenges have been largely addressed by the arrival of sophisticated models like Sora 2, Veo 3.1, and Kling O1. However, even with these advanced models, making realistic AI videos is rarely a one-shot process, and the final result still relies heavily on the creator’s specific technique.
Realism is best approached as an aggregate of the right model choice, specific prompting strategies, and disciplined workflows. In this guide, we’ll walk through how to balance these elements so you can create realistic AI videos that feel grounded, authentic, and professionally polished.
What Makes an AI Video Look Real?
Before we explore specific examples and techniques, let’s first understand what our brains are actually looking for when deciding whether a video looks real.
The realism breakers.
Texture and Natural Glow
One of the most common signs of an AI-generated video is the plastic or waxy look of human skin. This happens when a model treats a surface as completely solid, causing light to bounce off the surface rather than interact with the material. To achieve true realism, models now simulate a process called subsurface scattering. This is what happens in the real world when light penetrates a translucent surface (like skin, wax, or even a leaf) and scatters inside before exiting.
By capturing this internal glow, models like Veo 3.1 can make materials feel heavy and lifelike, accurately depicting everything from the natural warmth of a person’s face to the visual depth of a glass of water.
Keeping the Look Consistent
We’ve all seen AI-generated videos where a person’s face or shirt slowly changes as the video plays, a problem called identity drift. For a video to feel real, the AI has to treat every person and object as a solid 3D object that stays the same even when it moves or turns.
Newer tools like Kling 2.6 are great at this because they use specialized techniques to keep a character’s body proportions and facial features locked in place, even during fast-paced actions like dancing or running.
Following the Laws of Nature
We all have a subconscious sense of how the world works, so when an AI video ignores gravity or lets objects pass through each other, the illusion is immediately broken. A realistic video needs to follow causal logic, which means if a car turns a corner, you should see the weight shift on its tires, and if an object falls, it should bounce or break exactly as you’d expect.
Sora 2 is designed specifically to act like a world simulator, trying to understand these cause-and-effect rules so that the scene’s physics feel grounded and believable.
Sounds That Match the Action
Realism isn’t just about what we see; it’s also about what we hear. In older workflows, you had to add sound effects later, and they often didn’t quite line up with the feet hitting the floor or a door closing. Models like Kling 2.6 and Veo 3.1 now generate audio at the exact same time as the video, ensuring that the sound of a footstep changes as someone moves from grass to a sidewalk. This audio-visual synesthesia makes the scene feel like a single, lived-in environment rather than a collection of separate digital parts.
How to Make Realistic AI Videos
Step 1: Identify the Breaking Points
To generate AI videos that look real, it’s helpful to first clarify what your video is about and identify where the realism could potentially break. Is it a video with a lot of dynamic motion, such as a dancer performing a complex routine or a vehicle moving at high speed? Is it a close-up where you need a hyper-realistic face with subtle micro-expressions? Or is it a scene involving complex physical interactions, such as liquid being poured into a glass or objects colliding?
The answer to these questions will guide your model choice, your video generation workflow, and your specific prompting strategy.
Step 2: Choose the Right Model
A question we often hear is, “What is the most realistic AI video generator?” The answer is that there is no single best choice because different models are built with different technical priorities. Some are excellent at generating realistic videos with complex, dynamic movement, but may struggle with creating realistic faces or natural lighting.
Once you have identified the potential breaking points where the realism in your scene might fail, you are in a much better position to select the right engine for your specific task. Selecting a tool that specializes in the most challenging aspect of your shot is the most effective way to ensure a realistic result.
To help you navigate these options, here’s a summary of the video models available on Leonardo.Ai as of January 2026 and the specific areas where they shine:
Model Name | Best For | Creative Applications |
|---|---|---|
Sora 2 | Excels at maintaining character consistency and generating synchronized audio (dialogue & SFX), making it the top choice for emotional realism and “vibe directing.” | Social media videos, narrative storytelling, “slice-of-life” scenes |
Veo 3.1 | Delivers clean, polished visuals with high prompt adherence and native audio. It is the go-to for ad work where specific objects or products must remain consistent throughout the shot. | Commercial advertising, product showcases, corporate brand videos |
Kling 2.x (includes 2.1, 2.5, 2.6) | Combines high-dynamic motion (Kling 2.5) with creative image transitions (Kling 2.1 Pro). The new Kling 2.6 adds native, synchronized audio, making it best for immersive storytelling where sound is essential. | High-dynamic action clips, dramatic “Before & After” reveals, cinematic shots with native audio |
Kling O1 | Unified video editing and consistency. A “director” model that excels at modifying existing footage (editing/inpainting) and maintaining strict character and prop consistency across multiple shots using a unified multimodal system. | Editing existing footage (removing objects), style transfer, scene modification |
Seedance 1.0 | Multi-shot storytelling and short-form layouts. It excels at maintaining character consistency across camera cuts (e.g., wide shot to close-up). | Multi-angle narrative shorts, social media videos, and vertical (9:16) content. |
Hailuo 2.3 | Excellent for dynamic action. It understands complex physics (like dancing or flipping) without the distortion often seen in other models, keeping movement fluid. | Character animation (dancing, flipping), anime or stylized 3D motion, complex physical interactions |
LTX-2 | Well-known for fidelity and scale. Its stability across long takes and native 4K resolution make it the ideal choice for slow-paced, film-like sequences. | Cinematic establishing shots, B-roll for documentaries, professional broadcasting |
Motion 2.0 | Designed for speed and control. It offers specific camera controls (pan, zoom, tilt) for quick, catchy loops, making it perfect for rapid iteration. | Social media teasers, rapid concepting, testing camera angles |
For more on the video models available on Leonardo.Ai, including detailed expert tips and a look at their blindspots, view our complete guide here.
Step 3: Choose the Right Workflow
To generate a realistic AI video, you need to use the workflow that best protects the breaking points you identified in the first step. Let’s explore the three main workflows we can use.
1. Text-to-Video (T2V)
Text-to-video is the most direct workflow, where you describe a scene from scratch using only a text prompt. It is the simplest form of generation, allowing the model to imagine the entire world for you.
- When to use it: This is optimal when you need high creative freedom or novelty. It is a great choice for rapid prototyping or if you have a poetic concept and want to see how the AI interprets it without being limited by an existing image.
- When to avoid it: Avoid T2V if you need strong visual consistency, such as a specific character or logo. Because the model has to generate both the texture and the motion simultaneously, it is the most likely workflow to suffer from identity drift or physical glitches.
2. Image-to-Video (I2V)
The Image-to-Video workflow starts with an existing image, which serves as the foundation for your shot. In this modality, your prompt’s job is no longer to build the world, but simply to bring it to life.
- When to use it: This is the industry standard for achieving realism. Use it when you need perfect character or logo consistency, as the image anchors the visual details. It often produces higher-quality motion because the model can focus its energy on the physics of movement rather than inventing the scene.
- When to avoid it: Avoid I2V if you want to see a major narrative change that isn’t suggested by the starting frame. The model is naturally constrained by the image, so it may struggle to move far beyond that initial composition.
3. Start and End Frame (S/E)
The Start and End frame workflow offers the highest level of narrative control. You provide two separate images (one for the starting composition and one for the ending), and the AI generates a smooth transition to bridge the gap.
- When to use it: Use this for precise transitions when the outcome is non-negotiable, such as when a character walks through a door and ends up in a specific room. It is also the perfect method for creating video loops by using nearly identical start and end frames.
- When to avoid it: Do not use this for rapid iteration, as it requires you to prepare two high-quality, pre-visualized frames before you can even begin. It is a more labor-intensive workflow meant for final, polished shots rather than brainstorming.
Step 4: Prompt for Realistic Videos
While each model has its own prompting quirks, the foundation of a high-fidelity video begins with a clear, structured prompt. To achieve professional-grade realism, consider including these four building blocks:
- Subject: Be specific about the focus, and don’t be afraid to include natural imperfections that suggest life. Instead of “a man,” try “a man in his 40s with visible pores, slight skin redness, and fine wrinkles around the eyes”.
- Action: Use clear, descriptive verbs that define how the subject moves or interacts with the environment, such as “heavy boots trudging through thick mud” to imply realistic weight and friction.
- Context: Describe the setting, time of day, and environmental details like “rain-slicked streets at dusk” or “soft, morning light glowing through curling fog”.
- Style: Define the overall aesthetic framework, such as “cinematic realism,” “16mm black-and-white film,” or “high-end food commercial”.
Once the basics are set, you can use advanced modifiers to take full control of the breaking points we identified earlier:
- Camera language: Specify the framing (e.g., “close-up,” “wide shot”), the angle (e.g., “low angle,” “eye-level”), and the movement (e.g., “dolly in,” “slow pan”).
- Ambiance and lighting: Describe the light transport, such as “volumetric lighting,” “subsurface scattering through the skin,” or “reflecting off the water.”
- Audio direction: If your model supports native audio, describe the soundscape, such as “the hiss of an espresso machine” or “a low-building thriller score”.
While we’ll see more prompts in action in the examples section below, here are some of the comprehensive prompting guides we’ve built for the most popular models:
Pro Tip: If you are using an I2V or S/E Frame workflow, your video prompt should focus almost entirely on the motion and audio, since the image already handles the style and subject. For help creating that perfect foundation image, make sure to check our image prompting guide (especially the section on Prompting for Images With Humans).
Examples of Realistic AI Videos
In this section, we’ll show you how to build three realistic AI videos using the four steps we outlined above.
Example 1: I2V Workflow with Veo 3.1
First, we set the goal. We want to create a high-end commercial for a luxury watch with the tagline: “The luxury of being first.” The concept involves a businesswoman heading toward an important meeting at a lakeside terrace very early in the morning. For this task, we need a video model that excels at character consistency and provides a high-end commercial aesthetic. Given these requirements, the best choice is to use the Veo 3.1 model with an Image-to-Video (I2V) workflow.
We start by building an AI storyboard to map out the four distinct shots of our ad. Using Nano Banana Pro directly within the Leonardo app, we generate a consistent visual sequence:
To ensure we reduce the plastic look often associated with AI, we take the frames where the woman’s face is visible and run them through a targeted realism pass. Using the editing feature in the Leonardo app with Nano Banana Pro, we use this specific prompt to edit the images:
Using this image, enhance the realism of the woman’s face to remove the artificial, ‘plastic’ smoothness. Introduce high-frequency skin details including visible pores on the nose and forehead, and subtle micro-expression creases around the corners of the eyes and the lines running from the nose to the mouth. Add realistic subsurface scattering to the skin tone, a slight natural sheen on the forehead and bridge of the nose, and fine vellus hair on the jawline. Ensure the skin has organic imperfections and natural texture variation.
With our start frames perfected, we generate each shot separately using the I2V workflow. The Leonardo app simplifies this by allowing you to select your existing generations as the “Start Frame” for the video engine without needing to download and re-upload files. Veo 3.1 then adds the cinematic motion, maintaining the lighting and texture we established in the images.
Once we have all the shots ready, we take them into a simple drag-and-drop editing software like Canva and put all the shots head-to-head. To ensure continuity, we add copyright-free piano music in the background to stitch the shots together. And at the very end, we add a final extra shot with the product and the tagline (we generate it with Nano Banana Pro and animate it with Veo 3.1 using the same I2V workflow). Here’s the result:
Example 2: S/E Workflow with Kling O1
For our second example, our goal will be to create a video with complex motion and physics. We want a conceptual high-fashion shot (that could be used in a video for a song or an ad) where the model performs a backflip and lands in a graceful pose. The model wears a shiny costume and is sitting inside a small pool of water. To get a realistic video, it’s important to get right the model’s complex motion, the sun’s rays reflection, and the water’s splash when the model moves their feet.
Given our goal, we choose the Kling O1 model and an S/E (Start and End) workflow since we know exactly how the sequence begins and the specific graceful pose we want as the finale.
Inside the Leonardo app, we create the start frame with Flux 2 Pro, and then design the landing pose using Nano Banana Pro to ensure the aesthetic stays consistent across both ends of the clip.
Now that we have the frames, we guide Kling O1 on the action that happens between these two frames to bridge the movement. We keep the instructions simple so the model can focus on the physics of the flip and the interaction with the water:
The model does a slow-motion backflip, landing gracefully into a deep side-lean.
Because we provide the end frame, the AI doesn’t have to guess where the model’s limbs should end up, which is crucial when dealing with a costume that has complex reflections. The water splashes realistically upon landing, and the costume’s shiny texture reacts perfectly to the sun’s rays throughout the rotation.
Example 3: A T2V Workflow with Sora 2
The goal for our third example is to create a realistic social media video that has the potential to go viral. Although the viral social media video comes in many formats, we’ll try to create a cute animal video featuring a dog trying to put clothes in the washing machine. To this end, we need a “messy”, authentic aesthetic of a video filmed with someone’s phone in portrait (9 x 16) resolution.
A T2V (Text-to-Video) workflow with Sora 2 is perfect for this choice. Because we want the motion to feel spontaneous and the “camera work” to feel handheld and imperfect, starting from a static image isn’t always necessary. Sora 2 is particularly good at simulating these “found footage” styles while maintaining the complex physics of a dog interacting with soft, moving fabric. By using a T2V approach, we give the model more freedom to generate the natural jitters and organic movements that make a video look like it was captured by a bystander.
Here’s our prompt and the result:
A fluffy Samoyed dog is standing over a laundry basket, picking up a t-shirt with its mouth and carefully putting it in the washing machine. It looks up at the camera with a proud, panting smile. Style: Vertical phone footage, warm indoor lighting. Audio: Organic diegetic sound and an encouraging “Good boy” from the cameraman.
Pro Tips for More Realistic Results
Here are a few pro tips to help you cross the finish line of realism:
1. Embrace Natural Imperfections
If your subject is human, the biggest giveaway is plastic skin. Make sure to specifically prompt for natural imperfections like visible pores, fine freckles, or micro-expression creases. These small details break that artificial, plastic smoothness and signal to the viewer that they are looking at a real person.
2. Upscale Your Source Images
When using images in I2V or S/E workflows, make sure to upscale them first. This is an important step because providing the video model with a high-resolution ground truth avoids the weird artifacts, blurry textures, and morphing glitches that break realism. In the Leonardo app, you can easily upscale any image before you hit generate, giving the AI more pixel data to track during the motion.
3. Prompt for Motion and Audio Only in I2V and S/E Workflows
If you are using an I2V or S/E Frame workflow, your video prompt should focus almost entirely on the motion and audio, since the image already handles the style and subject. You don’t need to describe the colors or the clothes again. For an I2V workflow, guide the model in how to continue from the starting image (tell it where the character is going or what they are doing next). In the S/E workflow, guide the model in how to transition from the start frame to the end frame, focusing on the bridge of movement that connects the two images.
4. Use Diegetic Audio
Realism is a multi-sensory experience. When prompting in models that support audio, always include diegetic sounds (sounds that exist within the world of the video) such as wind whistling, the hum of a dryer, or muffled background chatter. This audio synesthesia makes the video feel realistic.
Realistic AI Videos Need a Skilled Creator
As we’ve seen throughout this guide, the arrival of sophisticated models like Sora 2, Veo 3.1, and Kling O1 has finally provided the foundation we need to produce realistic videos.
However, the final result still relies heavily on your technique as a creator. Realism is best approached as an aggregate of the right model choice, specific prompting strategies (like adding those crucial skin imperfections), and the disciplined workflows we’ve explored, from I2V to Start and End Frame transitions.By balancing these elements and focusing on the small details that ground a scene in reality, you can move past the dream-like results of the past and create high-fidelity videos that feel authentic and professionally polished. Now that you have the framework, head over to the Leonardo app and start building your own realistic videos!
RelatedArticles
How to Add AI Music and Voiceovers to Your Videos
Silent AI videos lose viewers fast. Here are three ways to add sound in Leonardo.Ai — video models with native synced audio, custom soundtracks with Music v1, and AI voiceover with Seed Audio 1.0 — plus a step-by-step walkthrough.
remove.bg API is Moving to Leonardo.Ai
remove.bg's background removal API has joined Leonardo.Ai, also part of Canva. Everything you do today with the remove.bg API, you can do on Leonardo, plus upscaling, scene generation, and more.
The 6 Best Google Flow Alternatives to Try (Free & Paid)
Google Flow puts Veo 3.1 in a slick AI filmmaking studio, but its credit system is steep, allowances don't stretch far, and you're limited to Google's own models. Here are the six best Google Flow alternatives, including options that offer Veo itself alongside the rest of the latest state of the art video models.
ImagineArt vs Leonardo.Ai: Features, Price & Performance Compared
ImagineArt and Leonardo.Ai look similar at first glance: both put a collection of AI image and video models behind one interface. The differences show up in what surrounds those models — creative control, editing workflow, 3D and audio generation, team features, and pricing. Here's how the two platforms actually compare.